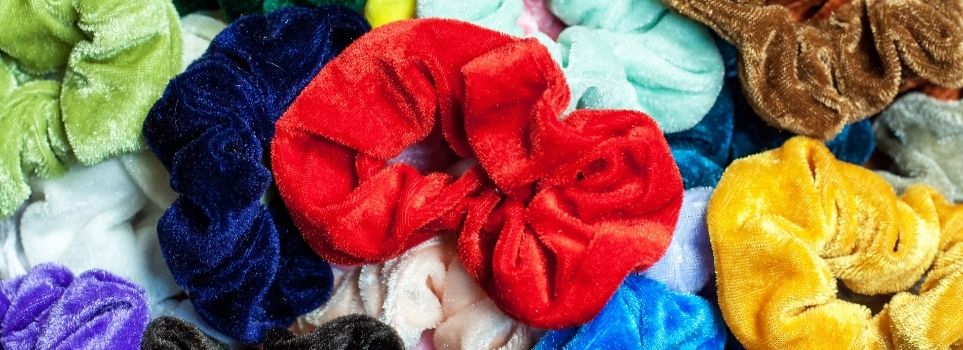
Did you know that everyone’s favorite hair accessory from the 80s and 90s is making a major comeback? Whether you wear them on your wrist or in your hair, the cost of enough scrunchies to match all of your outfits can add up quite quickly. Leopard, seafoam green, velvety pin – you need them all, though! So, appease your bank account, stay fashionable, and keep your hands busy, fill your time with this step-by-step tutorial and make your very own scrunchies. While we recommend starting with cotton, it is completely up to you which fabric you choose to work with. Keep in mind that a sewing machine will also help you take it to the next level by making the process quicker and giving your final scrunchies a more refined final look. With all that being said, check out the materials and directions below!
Materials:
• Fabric (Silk, crushed velvet, or cotton)
• Tape measure
• Fabric scissor
• Pins
• Elastic (1/4-inches)
• Safety pin
• Needle
• Thread
Instructions:
1. Cut fabric into a 3-1/2-by-22-inch strip.
2. Fold the fabric lengthwise, so it’s inside out, and pin along the center.
3. Sew a straight line across the edge and remove pins once you’re done.
4. Pull the strip right side out. Attach safety pin at one end and weave the pin through the inside of the tube and pull it out on the opposite end.
5. Cut elastic nine inches and attach a pin to one end.
6. Thread the elastic through the tube.
7. Remove the pin and tie the elastic into a knot.
8. Fold in the edges to create an even seam and tuck one opening over the other. Pin to hold the fabric in place and sew straight across to join the two sides.
Optimize every aspect of your life with these interesting tips and ideas, courtesy of the professional team at Wildwood Ridge Apartments in Atlanta, Georgia.


